Your bike’s disc brake pads are prone to wear out after some time of use. When they’re worn out, you will hear some rubbing noise as you brake in the dry. This can be annoying and frustrate your efforts to stop the bike when in need. So, you should make it a habit to replace bike brake pads when they’re 1-1.55mm to reduce the frustrations of using them when worn out.
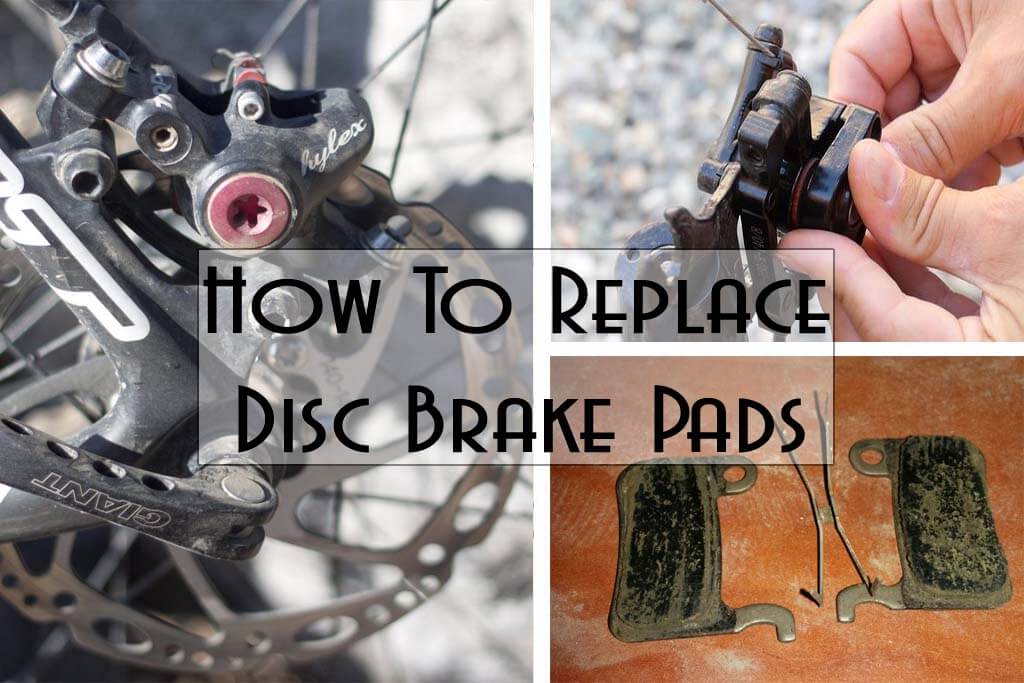
Learning how to replace disc brake pads is not hard as long as you’ve got the right tools to help do it. You should remove the old brake pads after placing your bike in a repair stand. Then replace the new pads after checking the extent to which the others were damaged. But this is after cleaning the caliper to avoid contaminating the new brake pads.
Doing this will not take much of your time after reading this helpful guide with a step-by-step guide on how to replace the disc brake pads.
When Should You Replace Disc Brake Pads?
Before learning how to replace disc brake pads, it’s best to know the duration and you’ll use them before they get worn out. The time your bike’s disc brake pads take to wear out will vary. First, the nature of the trail will affect how fast they wear out.
Also, how you ride and the distance you cover daily will determine how long it takes before the brake pads wear out. For example, if you’re an aggressive rider who loves bumpy trails, you will have to replace your bike’s brake pads regularly.
Step To Step Guide on How to Replace Disc Brake Pads
If you want to replace bike disc brake pads, it’s best to collect the tools required.
The tools include;
- Pad pusher tool/ flat head screwdriver
- Paper cloth
- Needle nose pliers or flat head screwdriver
- Replacement pads
- Disc brake cleaner
Step 1: Remove the Bike’s Wheel
If you want to replace bike disc brake pads, you’ve got first to check where the problem is. To do that, you need first to put your bike on the repair stand to have an easy time removing the wheel.

Then untighten the quick release lever using your hands to remove the axle nuts that hold the wheel. Detach it from the fork to enable you to reach the disc brake caliper.
Step 2: Check the Extent of The Wear
After removing the wheel, inspect the extent to which your disc brake pads are damaged. It’s, however, advisable to keep checking the wear regularly. Ensure you squeeze the brake lever gently to remove the rotor. You should avoid applying too much force on the brakes as it will squeeze the piston beyond limits making the brake fluid leak.
Step 3: Detach the Retaining Pin from The Brake Caliper
You should then remove the retaining pin from the brake caliper using pliers. Flex the ends with needle-nose pliers to help you get out the pin on the caliper. But if your caliper uses a screw-in pin having a pin clip remove the pin using a screwdriver.
Place the retaining pin where you’ll not forget or lose it since you should return it afterward.
Step 4: Set the Pads Apart
Place the flat head screwdriver between the pads to set them apart. Carefully put the tip of the flat-head screwdriver into the crack between the disc brake pads in the caliper’s middle. Keep moving the screwdriver back and forth until the pads detach.
Remember, the brake pads face each other and are at the center of the caliper. When you try to separate the pads, it will reset the pistons creating space where the newer ones will fit in. restrain from squeezing the brake levers as this will force the piston back, closing the gap where the new brake pads should fit.
Step 5: Pull Out the Brake Pads
You should then pull the brake pads out with your hands or a pair of needle-nose pliers. Hold the pads between your fingers to help you pull them out easily. Note that some disc brake pads have a clip spring system that holds them in that position. So, if you’re unable to remove the pads, force them inwards to help detach the spring, then pull them out afterward. However, others will require you to remove the outer pad before reaching the other one.
Step 6: Clean the Brake Caliper
Another crucial step you shouldn’t skip when replacing brake pads is to clean inside the caliper. Use a disc spray cleaner and a paper towel. The cleaner will help do away with dust, dirt, or any other contaminant on this part. Then use a paper towel to clean out the remaining degreaser on the caliper.
Cleaning the caliper will help prevent your new disc brake pads from contaminants, interfering with their performance and durability.
Step 7: Install the New Disc Brake Pads
Then, you should replace the disc brake pads to have your bike work with less challenges. Fix them together with the spring it comes with by squeezing them together. Ensure the U-shaped spring is in line with the brake pads grooves. This means the spring should be between the pads.
However, if it’s a mechanical disc brake, one pad will be next to the motor while the other will squeeze the two. Some disc brake pads also don’t have a spring, so it’s not a must to fix them between them. It’s advisable to install brake pads from the same brand to avoid having different styled pads.
Step 8: Fix the Brake Pads into The Caliper
One thing you shouldn’t forget about while replacing brake pads is holding the pads together before fixing them into the caliper. This will enable them to slide smoothly into the caliper without applying extra force. However, if the pads you intend to replace have no spring, slide the first pad before fixing the second one.
Step 9: Fix Back the Retaining Pin
You should afterward return the retaining pin to the caliper. Push it back, then twist the edges to lock it into place. Then tighten the pin with a tort screwdriver and slide the clip over the screw’s end. If the new brake pads come with a retaining pin, consider using it rather than the old one.
Step 10: Return the Bikes Wheel
You should then return the wheel to the fork then tighten the axle with a quick-release lever. After that, test if the wheel is perfectly aligned to the caliper by spinning it. While the wheel spins, carefully examine if the disc brake rotor is rubbing on the new brake pads. If you hear some rubbing sounds realign the caliper by loosening the mounting bolts. Do this until the disc rotor is parallel to the pads, then tighten the bolts.
Avoid squeezing the brake lever until everything is in the proper place. But after you test the wheels and the disc isn’t rubbing, try squeezing the lever and test how the new pads work.
Step 11: Go for A Road Test
After replacing brake pads, you should test how they work on your bike. Ride the bike for about 20 minutes in an area where you feel safer if they fail to work. This should be a flat trail with no cars where you’ll be able to test the braking prowess of the new pads.
Bottom Line
Knowing how to replace bike disc brake pads will save your back whenever you’re out cycling in a remote area with no bike shops. It will also save your money as you’ll not have to pay for these services.
To hack this, ensure you remove the wheel to enable you to get out the old brake pads. Clean the calipers to avoid contaminating the newer pads, then install them the right way. After that, you need to test if the caliper alignment is right and check if the new disc brake pads are functioning well.
Maybe you also like:
How To Ride Berms: Navigate Banked Turns Successfully
How To Stop Hydraulic Disc Brakes From Rubbing
Hardtail Vs Full Suspension: How to Choose the Type of Mountain Bike